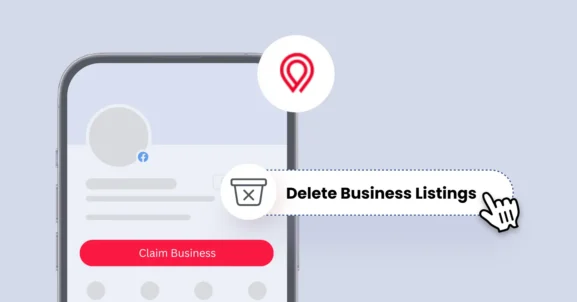
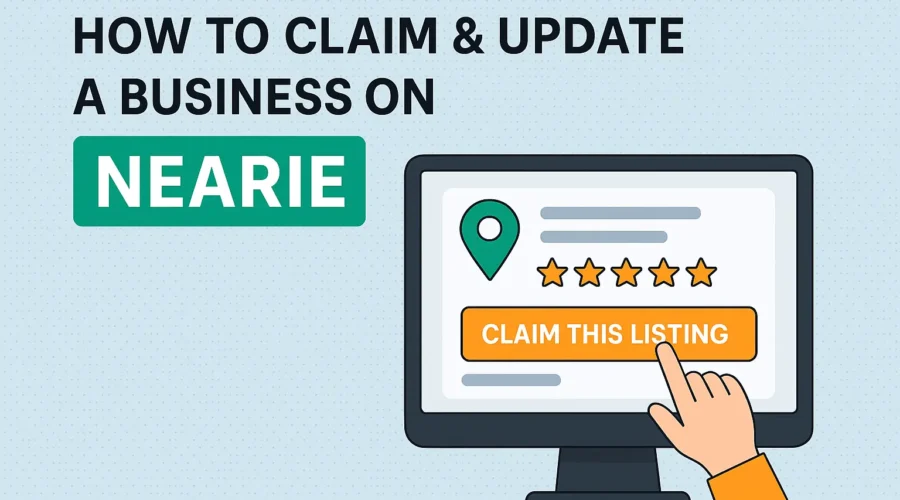
How to Claim & Update a Business on Nearie (Step-by-Step Guide)
Nearie is a growing local discovery platform that helps users find trusted services, businesses, and places near them. If you own or manage a local business, listing it on Nearie gives you visibility where it matters most, in front of people actively searching in your area. Claiming and updating your business profile ensures your information is accurate, complete, and competitive.
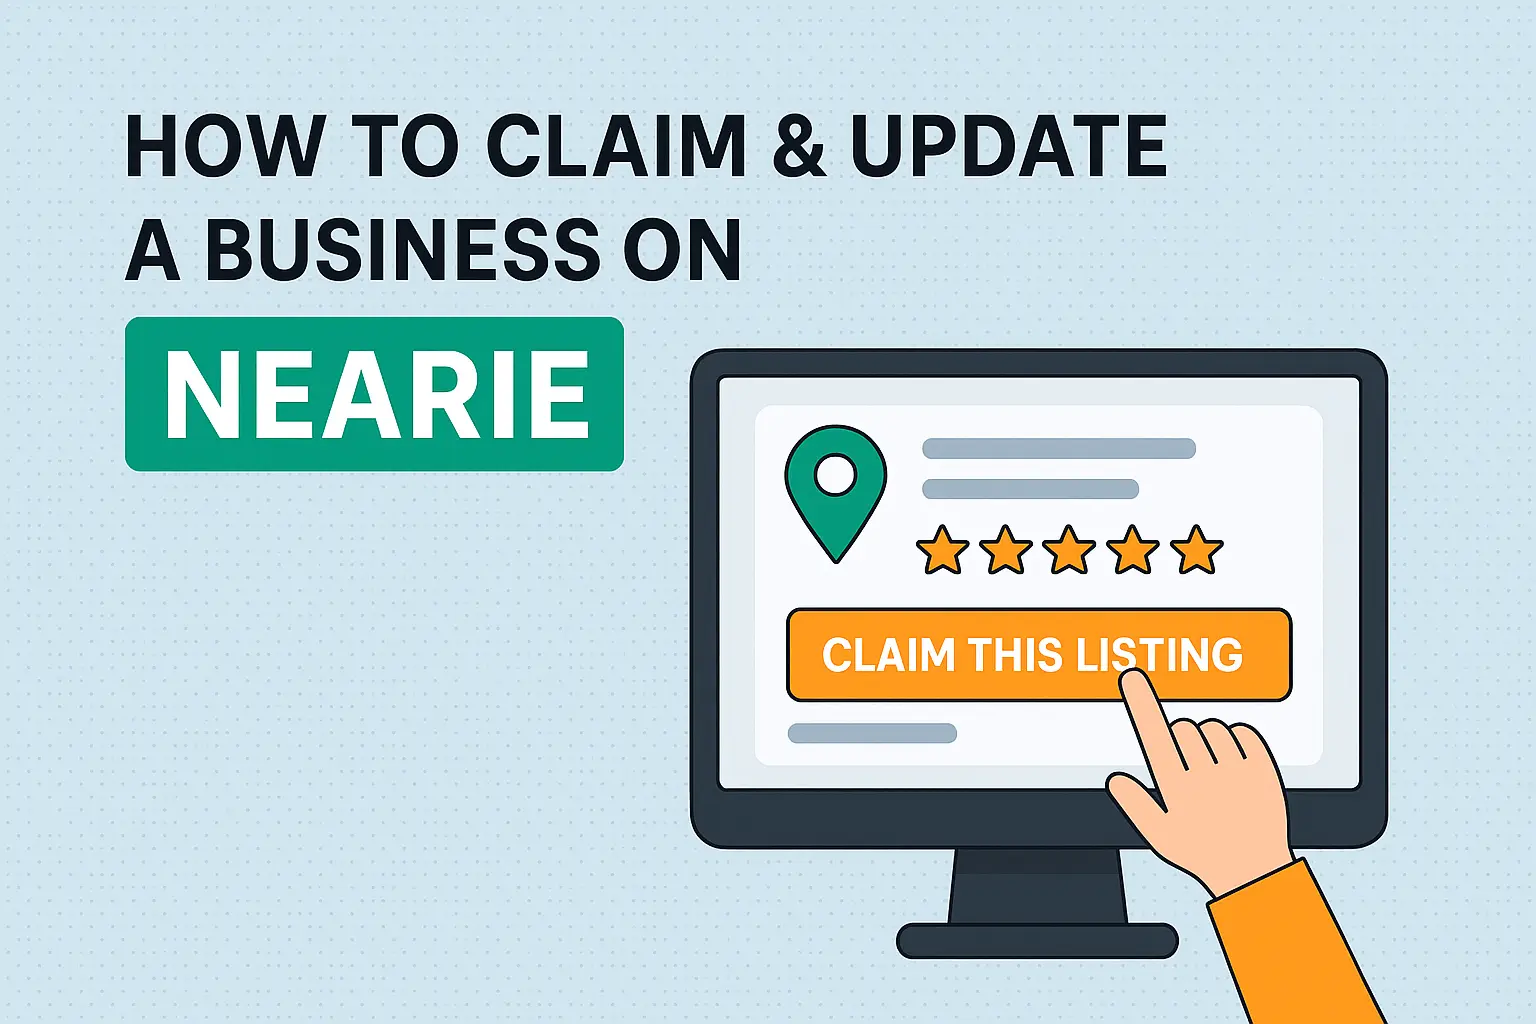
This step-by-step blog will walk you through how to claim your business on Nearie and keep your details updated. Accurate listings help users make informed decisions, build trust, and improve your visibility across search engines.
Why Does Claiming Your Business on Nearie Matter?
Claiming your listing gives you control over how your business appears online. When your profile is accurate, customers are more likely to trust you and choose your services.
Here’s what you gain:
- Control over your business details: Update your address, phone number, hours, categories, photos, and other info as needed.
- Visibility in location-based searches: Appear in search results when people nearby are looking for your service.
- Credibility and trust: Verified listings often get more attention and clicks.
- Opportunity to respond to reviews: Engage with customer feedback and show you care.
- Full dashboard access: Monitor views, manage bookings, run campaigns, and keep track of activity.
Now let’s dive into the process of how you can claim your business on Nearie.
Step 1: Search for Your Business on Nearie
Start by visiting the Nearie homepage and entering your business name in the search bar. Use the city or neighborhood filter to narrow down the results.
If your business is already listed (added by a user or auto-populated), it will show up in the search. If you don’t find it, you’ll need to add it manually; we’ll cover that later.
Step 2: Click “Claim This Listing”
Once you locate your business on Nearie, open the listing page. Look for the “Claim This Listing” button in the footer of the listing.
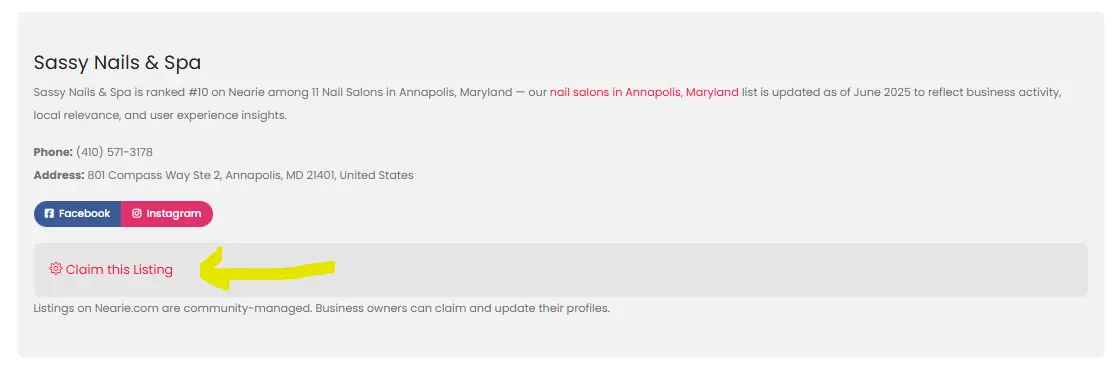
This button begins the claim request process.
Step 3: Fill Out the Claim Form
You’ll be directed to a short form to verify your association with the business.
Details include:
- Your full name
- Email and phone number
- Any additional details
- Add files of any documents that verify ownership or association (utility bill, business license, lease agreement, etc.)
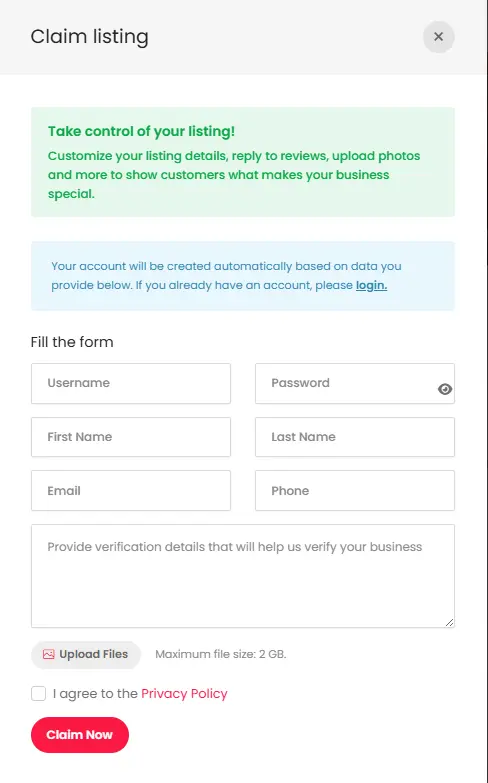
Once you submit the form, a Nearie account will automatically be created for you using the email and information you provided. This account will be linked to your business once it’s verified, so make sure to use a work email address that you check regularly.
If you already have an account, you can log in to continue the process under your existing profile.
Step 4: Submit and Wait for Review
After submitting your claim, the verification process begins. Our team checks the information and documentation you provided. This usually takes 2 to 3 business days.
If additional information is required, you may be contacted directly. Further, you’ll receive a notification email once the review is complete.
What Happens After You Submit a Claim?
When your request is received, our verification team:
- Reviews your documents for accuracy and ownership proof
- Cross-checks the submitted info with public records and Nearie data
- Approves your claim if everything checks out
- Reaches out if more information is needed
This process helps protect business listings from unauthorized changes and builds trust for everyone using the platform.
Once verified, you get full access to your dashboard where you can manage listings, track views, respond to reviews, and more.
Now, we will look at how you can manage and update your business listings after getting access.
Step 5: Update Your Business Details
With your claim approved, you’ll get full access to your Nearie business dashboard. This is where you manage everything related to your listing.
Here’s what you can do from the dashboard:
-
- Edit listing details: Name, address, contact info, hours, services, categories, and more
- Upload or update photos
-
- View performance metrics: See total views, reviews, and how many times your business was bookmarked
- Monitor activity history: View recent edits or changes made to your listing
- Track bookings and customer messages
- Run ad campaigns or add coupons
- Respond to customer reviews
-
- Check wallet balance (if applicable)
- Access listing statistics over time
You’ll also see useful panels like:
- Active Listings count
- Total Views per date range
- Total Reviews and Bookmarks
- Recent activities log
- Message inbox and bookings history
The dashboard is designed to give you full control, insight, and flexibility, all in one place.
Additionally, you must make sure every section is filled out clearly and correctly. Remember to double-check everything. The more complete and accurate your listing, the better your chances of showing up in relevant searches on both Nearie and search engines.
Step 6: Add High-Quality Photos
Visual content helps your listing stand out and makes it more inviting and credible. You must add clear and well-lit photos of your storefront, interior, staff, services/products, etc.
The following are some tips for adding images:
- Use real photos, not stock
- Keep the resolution high
- Show different angles or settings
- Include your signage or branding
People browsing listings online often make decisions based on how businesses look. Listings with authentic photos get more clicks and engagement.
Step 7: Respond to Customer Reviews
Once your listing is live and active, you can respond to reviews left by customers. Responding to feedback helps build your reputation and shows that you care about your service quality.
This shows potential customers that you care about feedback, and it gives you a chance to clear up any misunderstandings or thank happy clients.
You must:
- Be professional, respectful, and clear in your replies
- Keep responses timely
- Thank positive reviewers
- Address complaints without being defensive
- Don’t argue publicly; invite unhappy reviewers to continue the conversation privately
Step 8: Monitor and Keep Your Listing Updated
Your business evolves, so should your Nearie profile. It is because outdated listings confuse customers and hurt trust. However, consistently updated listings are more trustworthy and more likely to rank in local search results.
You must update business details such as business hours, address, services, photos, etc. as needed. Further, you can use the Statistics section in your dashboard to see how your views and engagement change over time. This helps you decide when to update your listing or launch promotions.
On the other hand, you can set a reminder to review your listing once every quarter.
What If Your Business Isn’t Listed Yet?
If your business is not on Nearie, you can add it yourself.
How to Add a New Business:
- Go to the Nearie homepage.
- Sign up or log in to your account.
- Click “Add Listing” in the menu or footer.
- Complete the form with all relevant details.
- Upload verification documents.
- Submit and wait for approval.
Once your new listing is approved, it will be visible on the platform and available for claiming under your account.
Common Issues When Claiming a Business
While the claiming process on Nearie is straightforward, a few common issues can occasionally come up. These situations are usually easy to resolve, especially when you understand what’s causing them.
Below are some of the most frequent challenges businesses face, along with how to handle each one effectively.
-
Someone Else Already Claimed It
If your business is already claimed but you believe the claim is unauthorized, contact Nearie support with proof of ownership.
-
Verification Rejected
Double-check the documents you uploaded. They should clearly connect you to the business. Accepted formats include licenses, recent bills, or lease agreements that show your name and the business address.
-
Listing Is Outdated
Once your claim is approved, you’ll be able to update the information manually. You can also contact support for urgent corrections if needed.
How Nearie Listing Helps the Local SEO of Your Business?
A claimed and regularly updated Nearie profile doesn’t just help people on Nearie; it contributes to your broader local SEO presence.
Here’s how:
- Improves visibility in Google Maps and organic local results
- Signals trust to search engines
- Increases click-through rates with complete and consistent info
- Provides a local citation that supports your NAP (name, address, phone) consistency
Combined with Google Business Profile and other local directories, Nearie strengthens your online footprint.
Final Thoughts
Claiming and updating your business on Nearie is one of the simplest yet most meaningful actions you can take to build visibility in your local area.
It allows you to show accurate, up-to-date information to people actively searching for services near them. Your dashboard provides the tools you need to manage reviews and bookings, track listing performance, and run promotions.
If your business is already listed, don’t let it sit incomplete or unclaimed.
Take a few minutes to submit your claim, verify your connection, and start managing your profile today!